Email: support@gladlenpro.com
How to Clean Your Laptop Keyboard Safely: Step-by-Step Guide
Your laptop keyboard collects dust, crumbs, oils from your fingers, and bacteria with daily use. A dirty keyboard not only looks unprofessional but can also cause keys to stick or stop working entirely. This guide will show you how to safely clean your laptop keyboard without causing damage, using simple household items and proper techniques.
What You’ll Need
Before starting, gather these supplies:
– Compressed air can
– Microfiber cloth
– Isopropyl alcohol (70% or higher)
– Cotton swabs
– Small soft-bristled brush (like a clean makeup brush)
– Sticky notes or tape (optional)
– Bowl of water
Safety First: Power Down Your Laptop
Always turn off your laptop completely and unplug it from power before cleaning. If possible, remove the battery (for laptops with removable batteries). Press the power button for 5 seconds after unplugging to discharge any remaining electricity. This prevents electrical damage and accidental inputs while cleaning.
Step 1: Remove Loose Debris with Compressed Air
Hold your laptop at a 75-degree angle and use compressed air to blow out loose debris from between the keys. Keep the can upright and use short bursts rather than continuous sprays. Work from one side to the other systematically.
Tilt the laptop at different angles to ensure debris falls out rather than getting pushed deeper into the keyboard. Pay extra attention to the spaces around larger keys like the spacebar and enter key, where crumbs tend to accumulate.
Step 2: Use a Soft Brush for Stubborn Particles
After using compressed air, gently brush across the keyboard with a soft-bristled brush. This helps loosen any remaining particles stuck around the keys. Brush in the same direction, from one side of the keyboard to the other.
Step 3: Clean the Key Surfaces
Dampen (don’t soak) a microfiber cloth with isopropyl alcohol. Wipe down each key gently, working in rows. The alcohol evaporates quickly and won’t damage electronics, making it ideal for keyboard cleaning.
For stubborn grime around the edges of keys, use cotton swabs lightly dampened with isopropyl alcohol. Gently work around each key’s perimeter to remove built-up oils and dirt.
Step 4: Clean Between Keys
A clever trick is to fold a sticky note in half (sticky side out) and slide it between the keys. The adhesive picks up dirt and debris that compressed air missed. Alternatively, use a piece of tape wrapped around your finger with the sticky side out.
Move the sticky note or tape between each row of keys, replacing it when it gets dirty. This method is surprisingly effective for reaching tight spaces.
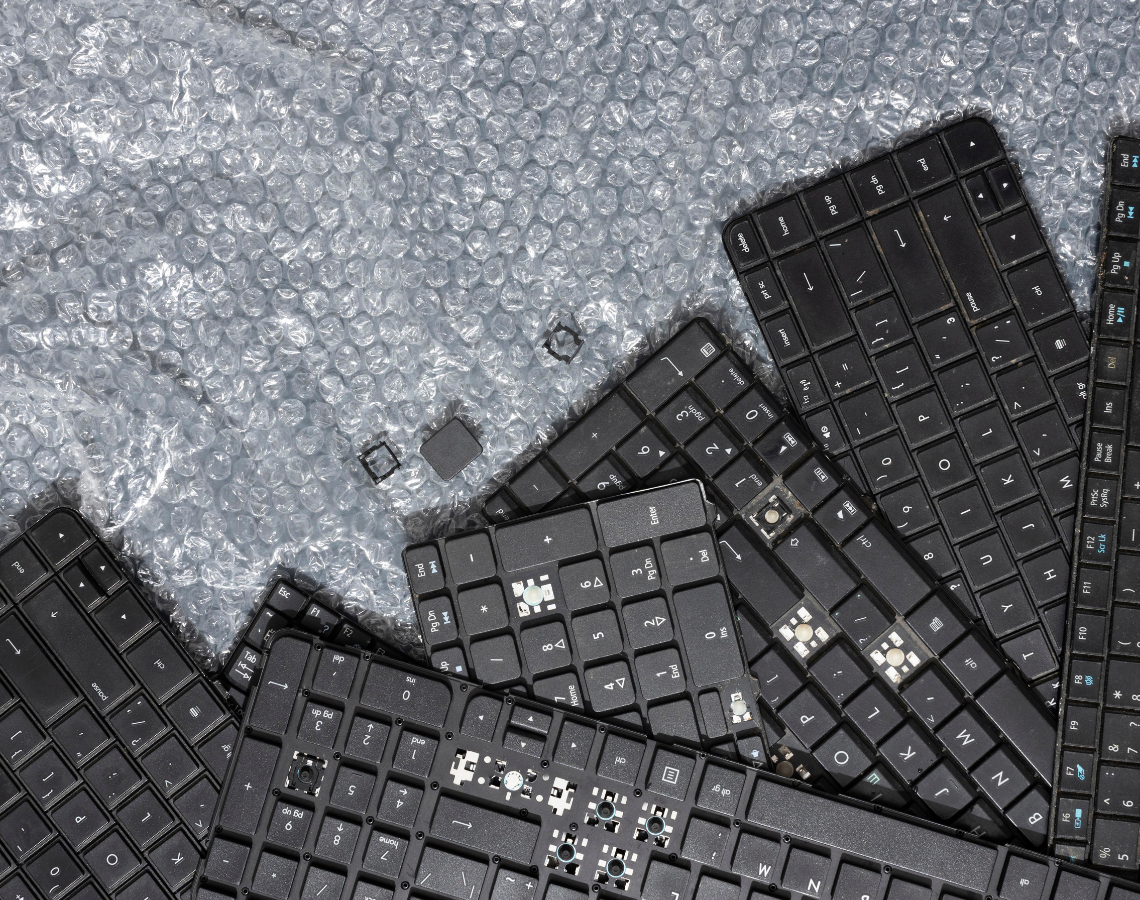
Step 5: Deep Clean for Very Dirty Keyboards
If your keyboard is extremely dirty or has had liquid spilled on it, you might need to remove the keycaps. However, this is risky and should only be done if you’re comfortable with the process:
– Research your specific laptop model before attempting this
– Take photos before removing keys to remember their positions
– Use a keycap puller or gently pry keys off with a flat tool
– Clean keycaps in warm soapy water and let them dry completely
– Clean the exposed keyboard base with cotton swabs and isopropyl alcohol
– Allow everything to dry for at least 24 hours before reassembling
Note: Some laptop keyboards have keys that are very difficult to reattach. When in doubt, avoid removing keys and stick to surface cleaning.
Step 6: Final Wipe Down
After cleaning, do a final wipe of the entire keyboard with a clean, dry microfiber cloth to remove any remaining alcohol or moisture. Check for any lint left behind by the cloth.
Prevention Tips: Keep Your Keyboard Cleaner Longer
– Avoid eating over your laptop
– Wash your hands before using your laptop
– Use a keyboard cover when not in use
– Clean your keyboard weekly with compressed air
– Deep clean every 2-3 months
– Keep drinks away from your workspace
When to Seek Professional Help
If keys are still sticking after cleaning, if you notice liquid damage indicators, or if you’re uncomfortable removing keycaps, bring your laptop to a professional. Some issues require specialized tools and expertise.
Conclusion
Regular keyboard cleaning keeps your laptop looking professional and functioning properly. A monthly quick clean with compressed air and a microfiber cloth takes just five minutes and prevents major buildup. For deeper cleaning, the methods outlined here are safe and effective for most laptop models.
Need professional laptop cleaning or maintenance? Visit our store for expert cleaning services. We can also advise you on keyboard replacements if cleaning doesn’t solve your issues. Our technicians have the right tools and experience to safely clean even the most delicate laptop keyboards.